← All six guidesBeginner · Reviewed August 2026Door Speaker Upgrade: Step by Step
Confirm fitment, preserve vehicle wiring, seal the speaker to its baffle, and test before reinstalling the panel.
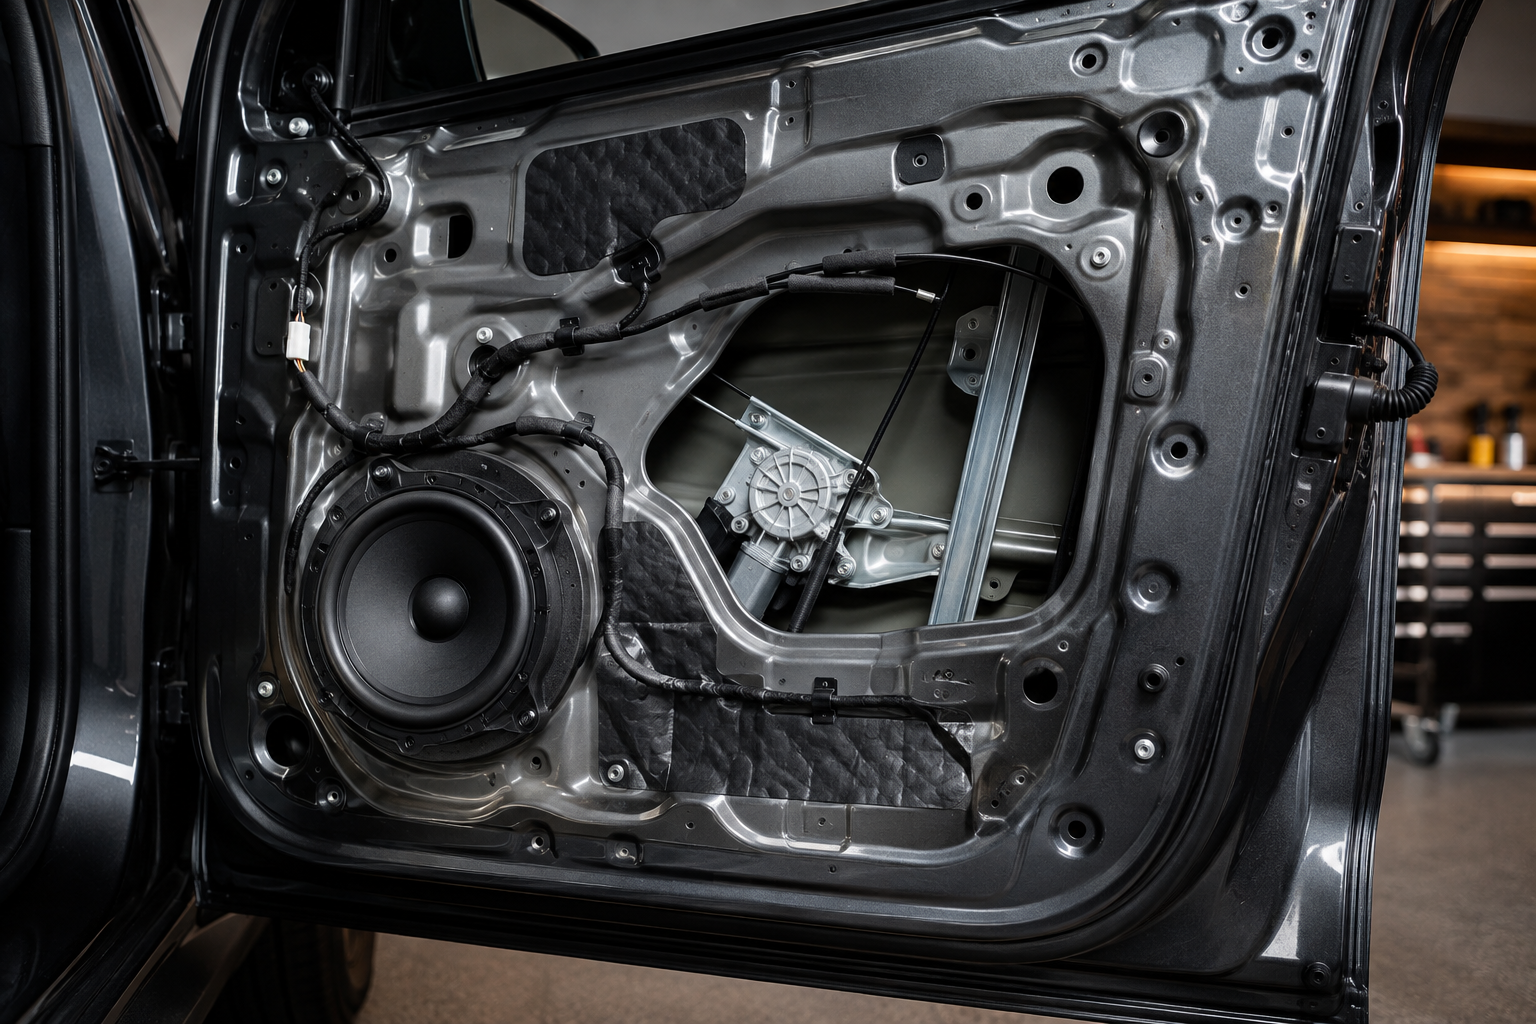
1. Confirm electrical and physical fitment
- Verify speaker diameter, mounting depth, bolt pattern, connector, factory amplifier arrangement, and nominal impedance.
- Use a vehicle-specific adapter harness when available instead of cutting the factory connector.
- Check that the new speaker and fasteners clear the window through its full travel.
2. Remove the panel without guessing
- Follow the service sequence for hidden screws, trim clips, handle cables, and electrical connectors.
- Support the panel while disconnecting plugs; do not hang it from wiring.
- Keep moisture barriers intact or reseal them with a compatible material.
3. Mount, seal, and test
- Fasten the adapter rigidly and seal air gaps between the speaker, adapter, and mounting surface.
- Connect positive to positive on every speaker so paired drivers remain in acoustic polarity.
- Secure wiring away from the glass, regulator, latch, and drain paths.
- Test low-volume output, balance, polarity, window operation, locks, and handles before reinstalling every clip and screw.