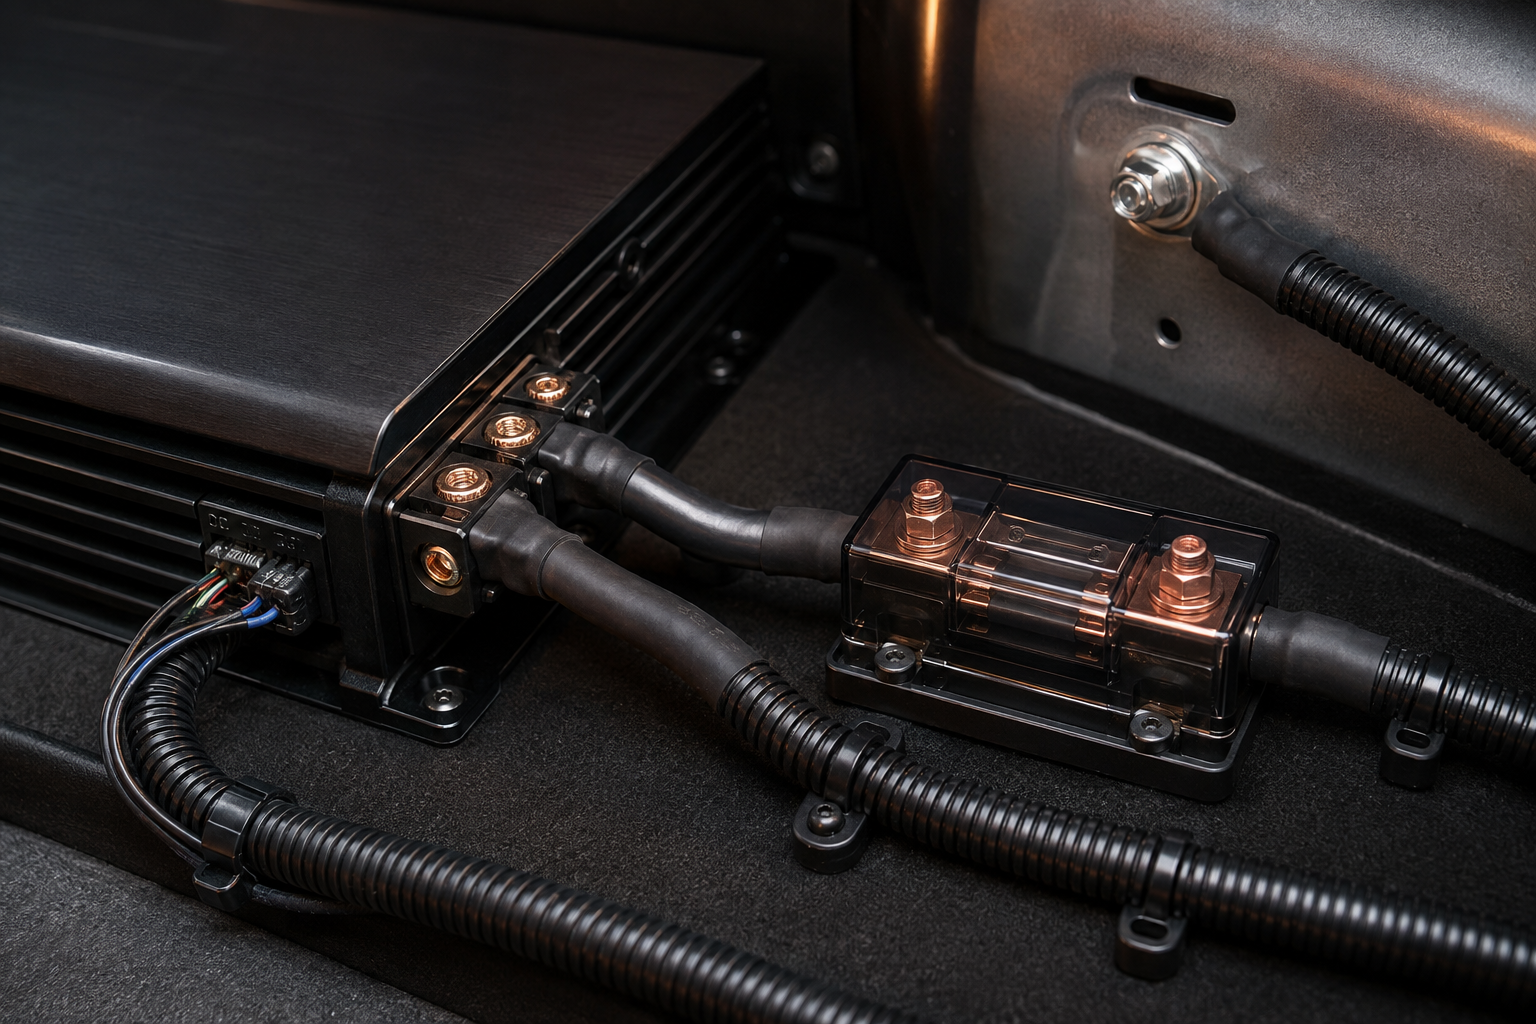
1. Understand what the upgrade changes
The common three additions are alternator positive to battery positive, battery negative to chassis, and engine block or alternator case to chassis. They reduce resistance in those paths; they do not increase the alternator's rated output.
Install the new conductors in parallel with sound original wiring unless the vehicle service information explicitly supports replacement.
2. Plan around the vehicle
- Identify the alternator output path, factory fusible protection, battery monitoring sensor, engine-to-body straps, and approved ground locations.
- Use flexible oxygen-free copper cable sized for the expected current, route length, temperature, and installation method.
- Protect any added positive conductor according to the vehicle and charging-system design; never assume the original fuse protects a new bypass path.
3. Terminate and verify
- Crimp terminals with the correct die, seal the conductor entry, and add abrasion and strain protection.
- Keep conductors clear of belts, fans, exhaust, steering, and sharp metal.
- Measure charging voltage and voltage drop under load before and after the upgrade.
- Investigate abnormal heat, odor, unstable voltage, warning lights, or charging-system codes immediately.